Last fall, a maintenance technician at a food processing facility walked into a steam line corridor and froze. A pipe support clamp had snapped clean through overnight, leaving a high-pressure line hanging by a single bracket. The immediate cause was clear: the metal band around the insulation jacket had been wrenched down so hard during installation that the edges had started to crack. What was meant to be a simple fastening job had turned into a near-miss – and a costly downtime event.
The truth is, most clamp and tie failures don’t start with material defects. They begin with a torque wrench in the hands of someone who believes tighter is always safer. If you work with metallic fastening in corrosive atmospheres, outdoor structures, or high-vibration settings, recognizing the early warnings of over-tightening isn’t just a skill – it’s a safety requirement. And sometimes, the solution starts with selecting a heavy-duty metal clamping system engineered for consistent, controlled tension.
Walk through any industrial site and you’ll hear the same logic: “I’d rather it be a little too tight than too loose.” Psychologically, that makes sense. A loose tie can slip, rattle, or fail to secure its load. But this mindset ignores how metallic ties and bands actually behave under load.
Unlike nylon cable ties that stretch visibly before breaking, metal fasteners have a steep stress-strain curve – they show minimal elongation before reaching yield strength. According to ASTM A666, common 304 stainless steel exhibits a minimum tensile strength around 75 ksi (515 MPa), but field failures often occur at points of stress concentration, not uniformly across the band. A stainless steel band that has been over-torqued doesn’t simply get “tighter”; its cross-section necks down microscopically at the buckle slot, creating a fracture initiation point. Coatings crack, galvanic protection gets compromised, and the base metal sits exposed. In chloride-rich environments like coastal installations, that tiny breach becomes a pitting corrosion hotspot within weeks.
The root cause is almost never bad intent. It’s usually one of three things: no access to a calibrated torque tool, no clear installation spec from the tie manufacturer, or a legacy practice passed down from older installations where “tight” was measured by feel. Each of these is fixable – but only after you can spot the damage that’s already happening.
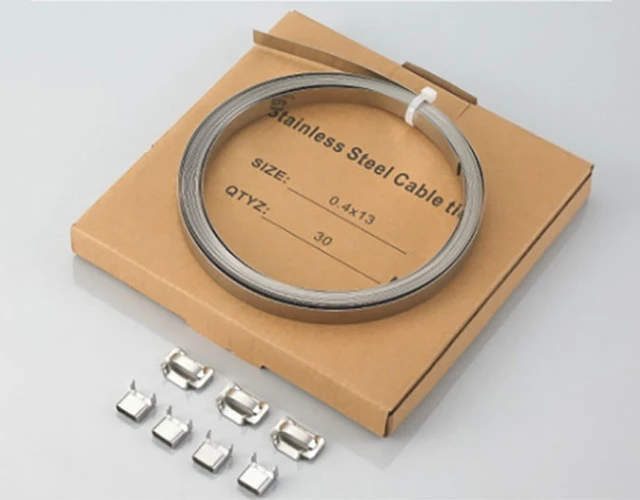
You don’t need a tensile tester to catch over-tightening damage. Most clues are visible during a routine walk-down inspection, as long as you know where to look. Here are the five most common indicators, ranked from early warning to imminent failure.
1. Surface coating cracks at the buckle exit.
This is the very first distress signal. When the band passes through the buckle or locking head, the outer surface stretches more than the inner face. Over-tightening magnifies that differential and snaps the coating – often zinc, epoxy, or polymer – right where it bends. You’ll see a cluster of micro-cracks radiating from the bend radius. At this stage the band may still hold, but corrosion has an open invitation.
2. Visible necking or width reduction.
Look along the free tail and the area just past the buckle. If the band width appears slightly narrower or the thickness looks pinched, the material has yielded. There’s no recovery from this. A stainless steel band that has permanently deformed in width will continue to creep under cyclic loads until it parts.
3. Sharp edge burrs or bite marks.
A proper installation tool should leave a clean cut-off on the excess tail. If instead you see a sharp, jagged edge or deep tool bite marks on the band surface, the cutter may be dull or the tension setting is too aggressive. Those bite marks act as stress risers, especially on thinner banding.
4. Lifted or separated band layers on bundled objects.
When securing multiple cables, hoses, or insulation jackets together, an over-tightened band cuts into the outer jacket rather than distributing pressure. You’ll notice the band edges lifting away from the surface, creating gaps. What’s really happening is that the inner layers are being crushed while the outer band arches over them – a recipe for both substrate damage and band failure.
5. Buckle body cracking or discoloration.
If the buckle itself shows rust bleeding, blueish heat tint (from friction during over-torquing), or a fine crack propagating from the slot corner, shut it down. The buckle has entered its final stage and will fail catastrophically, often without further warning.
During an annual inspection at a wastewater treatment plant, our team spotted three of these five signs on a single piping rack – all on ties less than six months old. The maintenance crew had been using an impact driver set to maximum because “that’s what we’ve always used.” After replacing the damaged bands and switching to a controlled-tension fastening system with a pre-set torque limiter, zero failures occurred over the next 18 months.
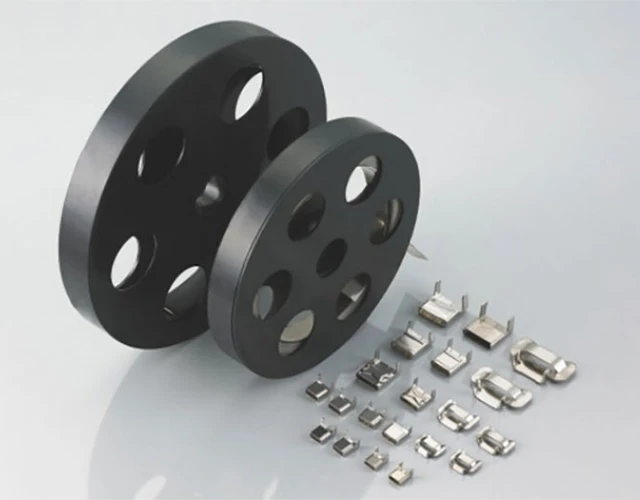
For industrial metallic banding, the goal is not a specific torque number you can dial in universally – it’s achieving a consistent residual tension that holds the load securely without exceeding 60–70% of the band’s yield strength. In practice, here’s how to get there:
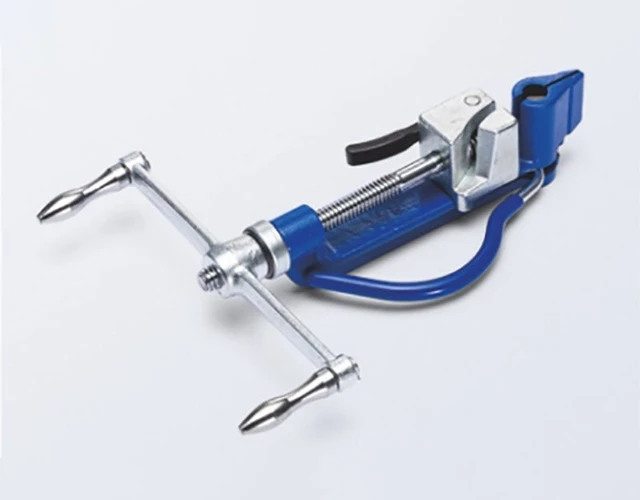
Use a manufacturer-recommended installation tool. Manual, pneumatic, or battery-powered tensioners designed for that specific band width and thickness will have built-in mechanical stops or torque settings. Don’t substitute with adjustable wrenches or general-purpose impact tools.
Check for visual tension indicators. Some banding products include a dimple, painted line, or laser marking that distorts or disappears when proper tension is reached. This low-tech feature eliminates guesswork entirely.
Apply the “two-finger” test cautiously. For light-duty bundling on non-critical components, you might learn what correct residual tension feels like. But for anything carrying structural load, pressurized pipes, or overhead suspension, rely on a calibrated instrument.
Document your settings. When you find a tension that works for a given application, record the tool model, setting number, band material, and joint type. The next technician will thank you – and your failure data will plummet.
Those who maintain structures in marine or chemical environments often turn to corrosion-resistant metal fastening solutions that incorporate both mechanical strength and long-term durability, since over-tightening damage accelerates degradation dramatically in these settings.
Treating clamps and ties as disposable consumables is a costly habit. A structured inspection routine costs a fraction of one unplanned outage. Here’s a lightweight protocol you can implement with your team:
Monthly visual checks on critical tie points using the five signs above. Photograph anything suspicious – serial documentation helps spot trends.
Quarterly torque audit on a representative sample of installations. If more than 10% show signs of over-tightening, retrain the crew and review tool calibration.
Annual replacement review for bands in direct UV exposure, high-chloride mist, or cyclic temperature swings. Even correctly installed, a stainless steel band has a finite service life under severe conditions; schedule proactive swaps during planned shutdowns.
One ETL customer in the solar farm sector reduced clamp-related failures by 62% simply by adding a 10-minute inspection module to their existing preventive maintenance rounds. They didn’t buy different bands – they changed how they installed and monitored them.
Even the most skilled technician can struggle with fasteners that weren’t designed with consistent tensioning in mind. If you’re specifying new installations or retrofitting after a series of failures, it’s worth evaluating systems that integrate installation precision into the product design itself. For demanding applications – whether anchoring equipment on offshore platforms or bundling cables in transit tunnels – ETL’s range of professional banding products offers a starting point for exploring options that prioritize both strength and installability.
The next time you walk past a rack of pipe supports or cable trays, take 30 seconds to look at the fasteners. If you see a cracked coating or a necked band, don’t just tighten it further. That’s the moment to break the cycle of over-tightening for good.
Disclaimer: This article provides general guidance based on industry best practices. Always consult a qualified structural or maintenance engineer for critical load-bearing applications, and refer to the fastener manufacturer’s installation instructions for specific torque and tensioning specifications.


 中文
中文 English
 Pусский
 Français
 Español